8 weeks after transforming an old garden bed to grow food, I’m ready to do it again! This time, I’m turning one of my front yard garden beds into a cottage-style food forest— filled with low-maintenance annuals like potatoes and onions, perennials, edible flowers, and lots of colours! Reviving an old garden bed is quite simple and can be done in a day – here are the steps I follow whenever I revive a garden bed.
Assessing the Existing Garden Bed
You’ll need to do a bit of researching and understanding the history of your garden bed. It’s important to know what has been planted there before, what worked well, and what didn’t. This knowledge can help you make informed decisions about what to plant in the future and how to address any existing issues.

You should also identifying potential challenges in your garden bed. It could include assessing the quality of the soil, looking for signs of pest issues or diseases, and determining if there is any overgrowth or invasive plants. Knowing what challenges you face is the first step in creating a successful garden. I like to conduct a SWOT analysis so I can make the most of the space and work with it, rather than against it.
Planning the New Garden Design
Planning your garden design involves considering factors like how much sunlight your garden bed receives, access to water sources for irrigation, and the compatibility of different plant species. This step helps ensure that your chosen plants will thrive in their new environment. Remember that a well-designed layout enhances the visual appeal and functionality of your garden- so consider designing pathways for access, creating focal points like statues or decorative features, and grouping plants together based on their water and sunlight needs.


Clearing and Preparing the Bed
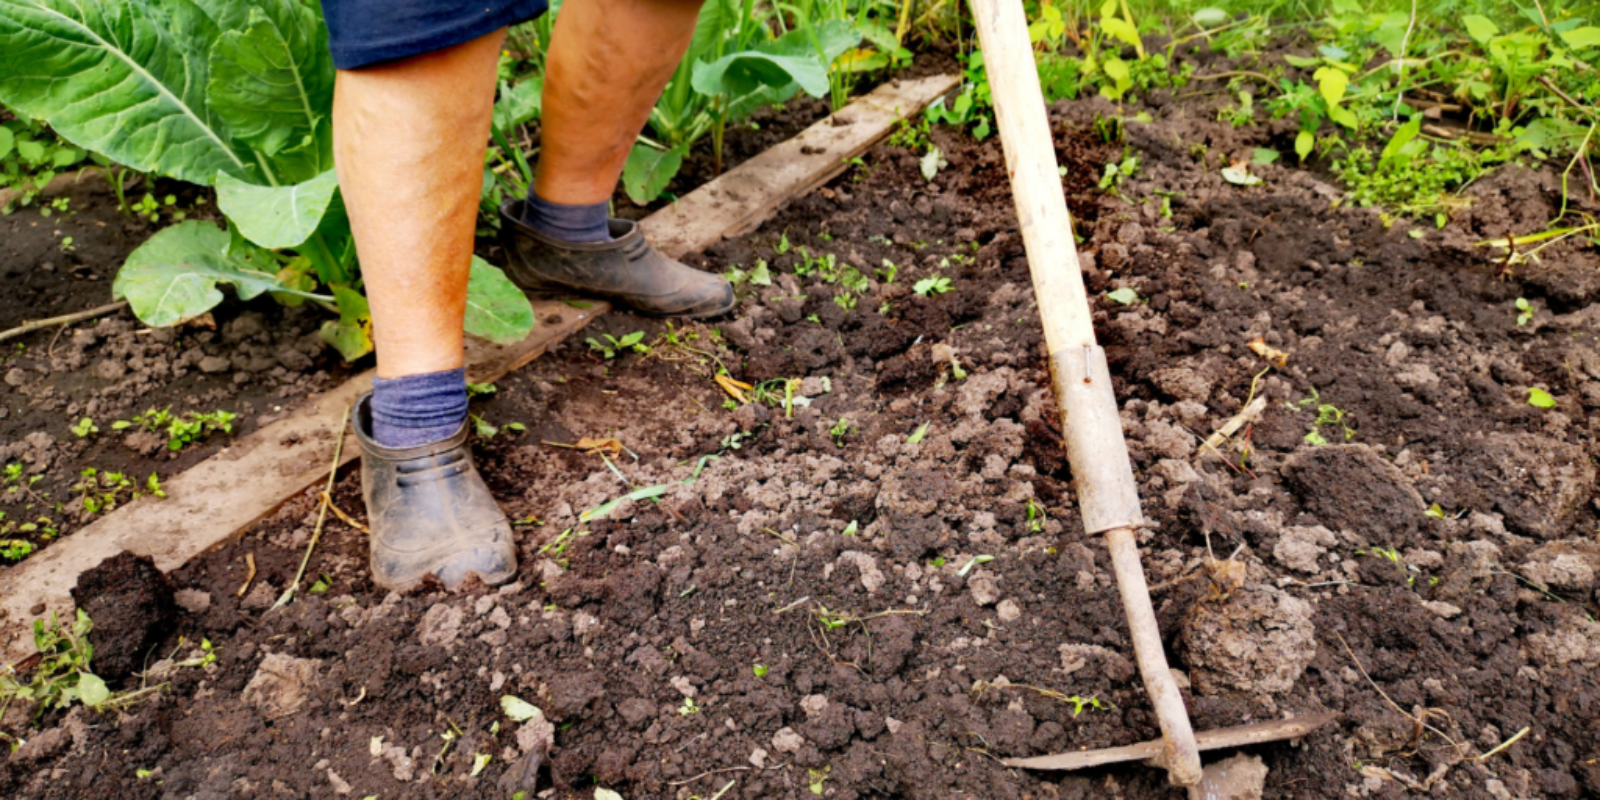
Before planting new vegetation, you’ll need to clear the garden bed of any weeds, dead plants, or debris. This step creates a clean slate for your new garden and prevents competition for resources.
Soil Testing and Improvement
Soil testing involves analysing the composition of your garden’s soil, including pH levels and nutrient content. Understanding your soil’s characteristics is crucial for selecting the right plants and ensuring their health. Based on the results of your soil test, you may need to amend the soil to make it more suitable for your chosen plants. This can involve adding compost, organic matter, and specific minerals to improve soil structure and fertility.
If you haven’t had much growing in the garden bed, at a minimum you’ll want to amend the soil with compost. If you are starting from scratch, consider building healthy soil with a no-dig garden bed, that layers lots of brown and green matter to build soil over time.

Plant Selection and Placement
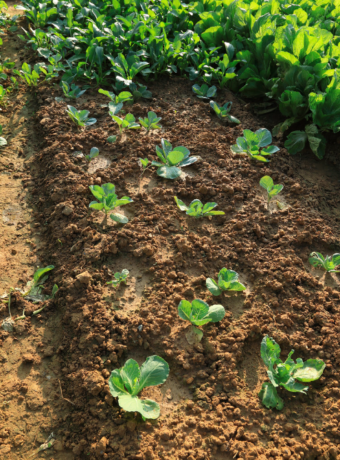
Companion planting is the practice of placing certain plants together in a way that benefits both species. For example, planting marigolds near tomatoes can help deter pests. Selecting compatible plants can enhance growth and reduce the need for pesticides.
Properly spacing and placing your plants is essential for their growth. Each plant species has specific requirements for spacing, so following these guidelines ensures they have adequate room to develop and receive the right amount of sunlight and nutrients.
Planting and Mulching
Mulching involves applying a layer of organic or inorganic material on the soil’s surface. It helps retain moisture, suppress weeds, and protect the soil from temperature fluctuations. Mulch is particularly useful for maintaining soil health and reducing maintenance tasks.
Watering and Care
Consistent and adequate watering is vital, especially for newly planted vegetation. This step emphasises the importance of providing the right amount of water to ensure your plants remain hydrated and healthy.
Gardens require ongoing care, so you’ll need to regularly prune, fertilise, and addressing seasonal tasks to keep your garden looking its best and your plants thriving.


